Adding a Printer
Print2RDP allows any number of client printers to be dynamically connected to the Terminal Server System (TSS) each time the client connects to the TSS.
-
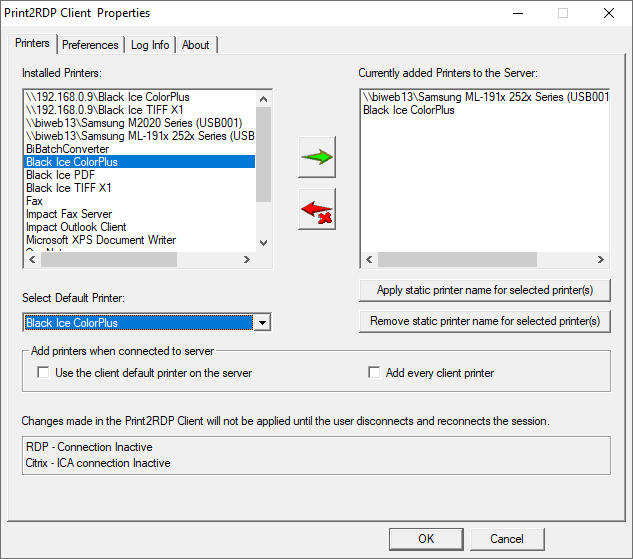
Navigate to the Start Menu > Programs > Print2RDP Client > Print2RDP Client Setup. The Print2RDP Client Properties dialog appears as shown below:
-
Select the printer to be mapped onto the Terminal Server.

-
Press the green arrow and the selected item is moved to the managed side of the Print2RDP application.
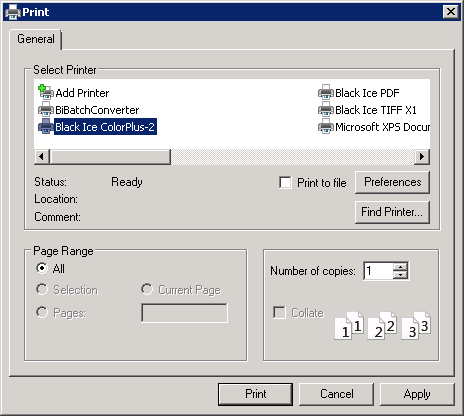
Once the local printer(s) are added through the Print2RDP Client, connect to the Print2RPD Terminal Server.
The local printer(s) selected in Print2RDP appear amongst the server’s printers for printing from any Windows application.
Each printers attached by Print2RDP are using a separate port, allowing the printers to print the documents simultaneously, resulting fast printing even with large number of users.
NOTE: In version 6.17 and earlier, if the User is connected during the installation of the Print2RDP Client, the added printers will not be mounted (shown) on the server until the User next log in. The User should log off and log back into the server. Since version 6.18, the user only has to reconnect to mount the printers.
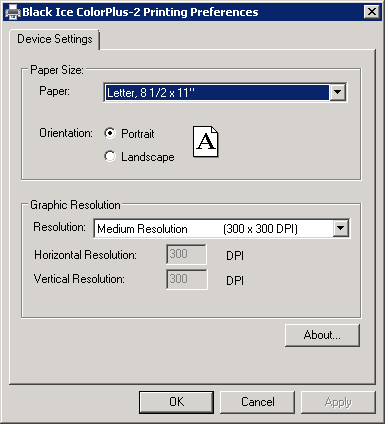
Right-clicking the printer and choosing the printer preferences brings up the Printing Preferences window of the connected printer:
-
Change the paper size and the graphic resolution of the printed output.
Every paper size the client printer supports are transferred to the server’s paper size list. Print2RDP is able to print labels and receipts to local printers from a wide variety of server-side applications.
-
Click Apply and OK to activate the settings.