Black Ice Software - Online tutorials
Impact Fax Server - Email to Fax configuration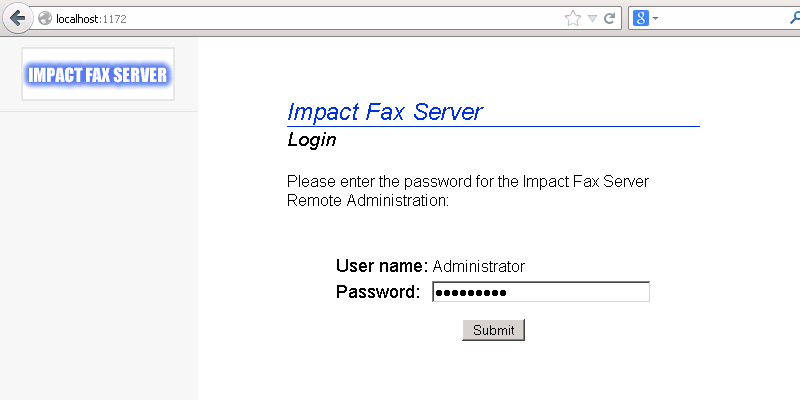
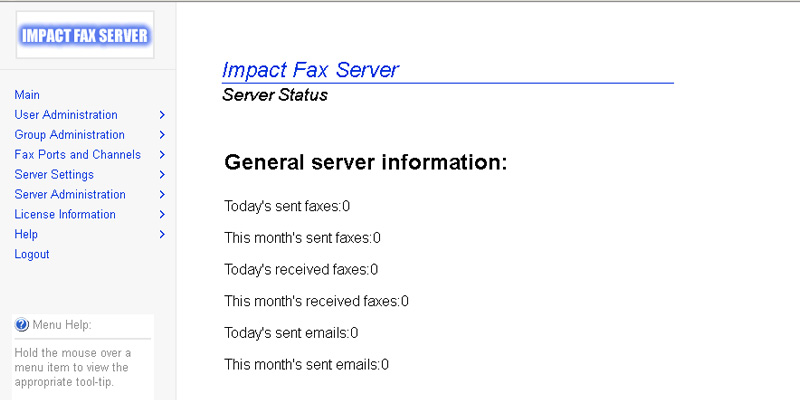
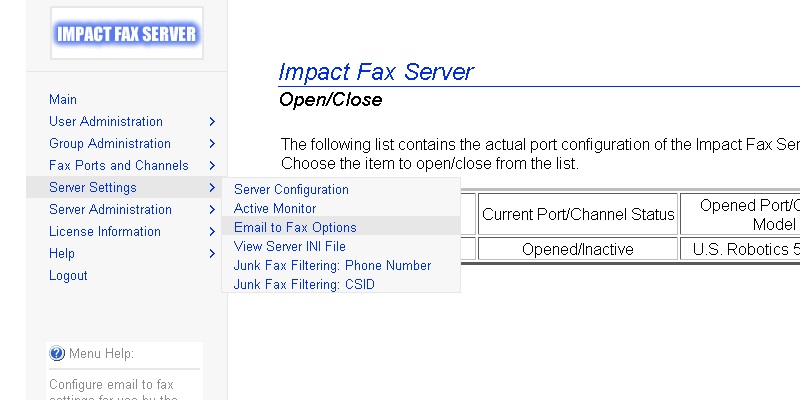
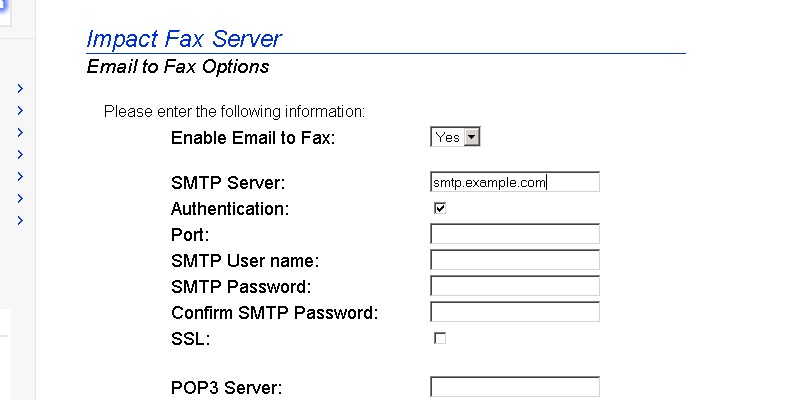
Enter the password, and click on the 'Submit' button. The Fax Server Administration page appears. All general information about the server can be found on this Main page. To configure the Email to Fax feature, go to the Server Settings > Email to Fax Options. The Email to Fax Options page appears.
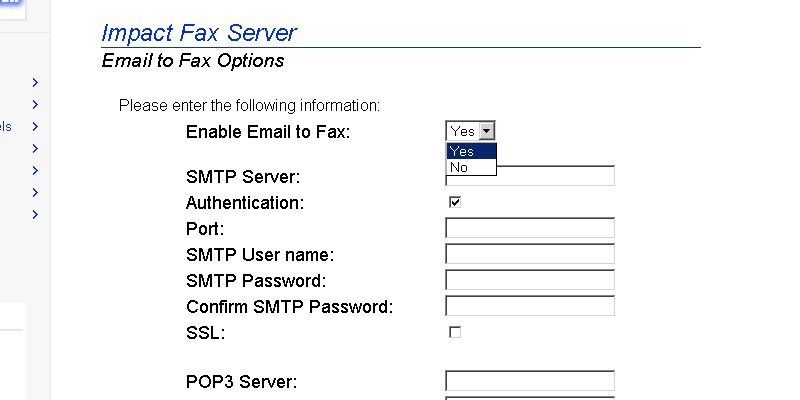
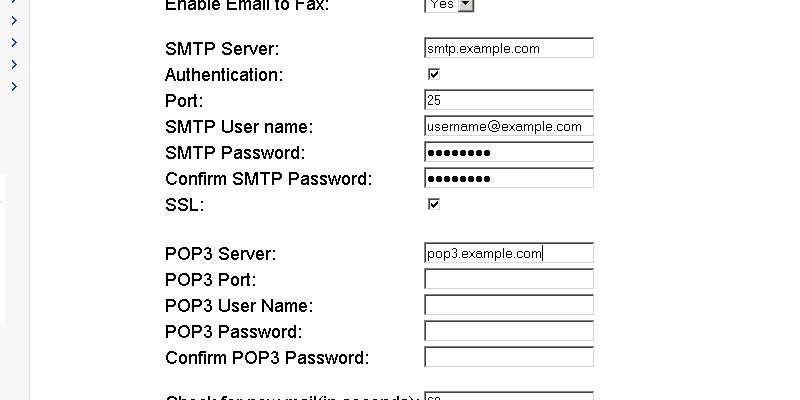
Select the Enable Email to Fax dropdown list and click on the Yes to enable Email to Fax. Enter the SMTP Server IP address or domain name.
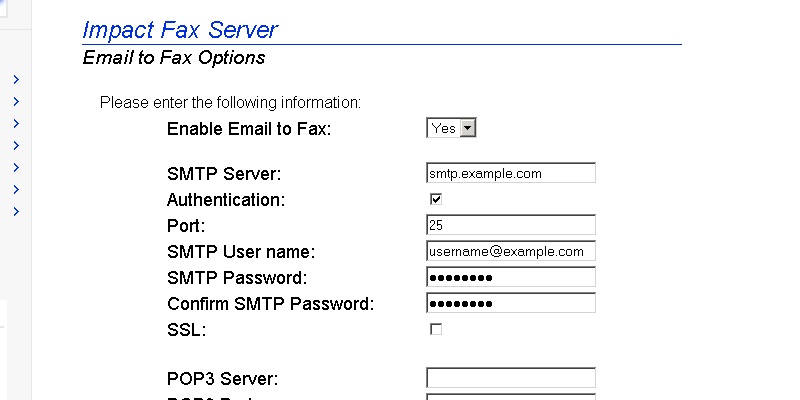
NOTE: If the SMTP Settings are correctly specified, the Fax Server will
send confirmation email back to the sender, once the fax delivered successfully.
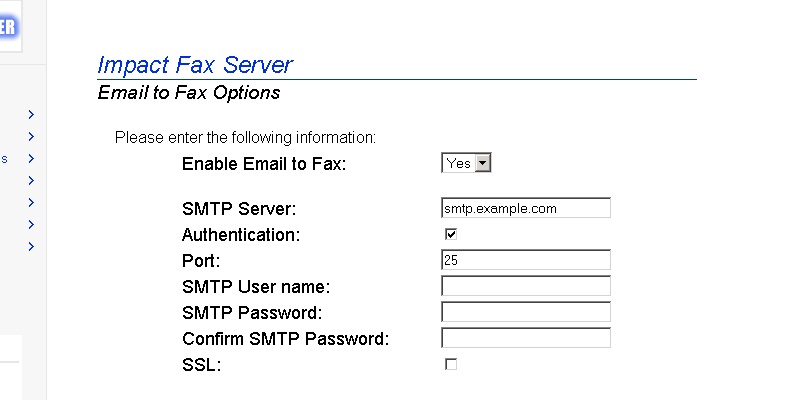
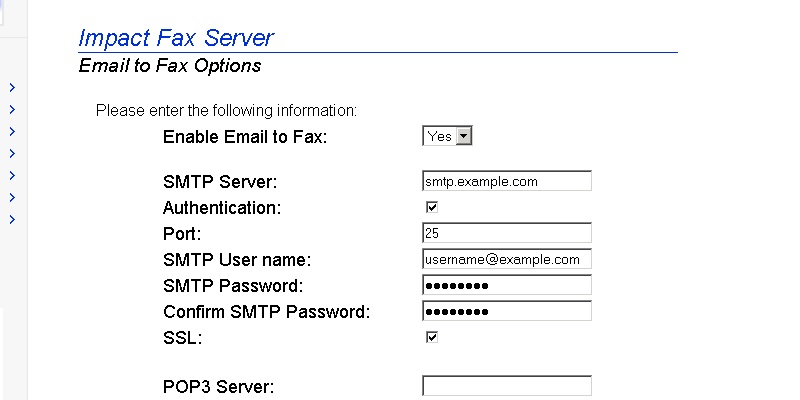
Without the SMTP Settings, the sender will never receive any notification about the status of the faxed document. Enter the port number of the SMTP Server. The port number is 25 by default. Enter the SMTP username with domain and password. Check the SSL checkbox if the SMTP server requires the Secure Sockets Layer protocol. Enter the POP3 Server IP address or domain name.
NOTE: The POP3 Settings provide access to the monitored email address for the Fax Server.
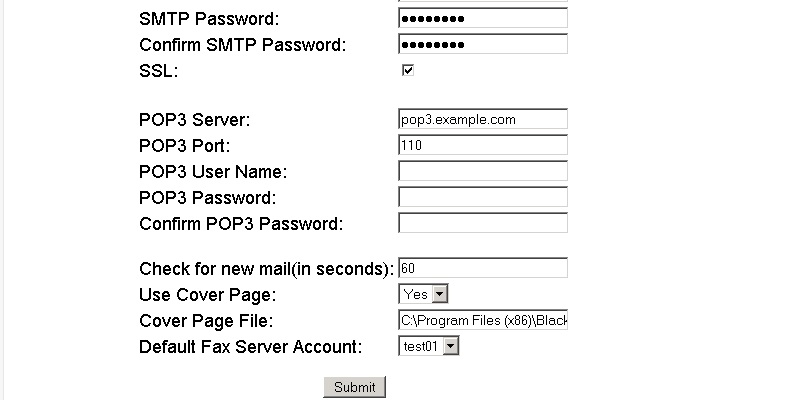
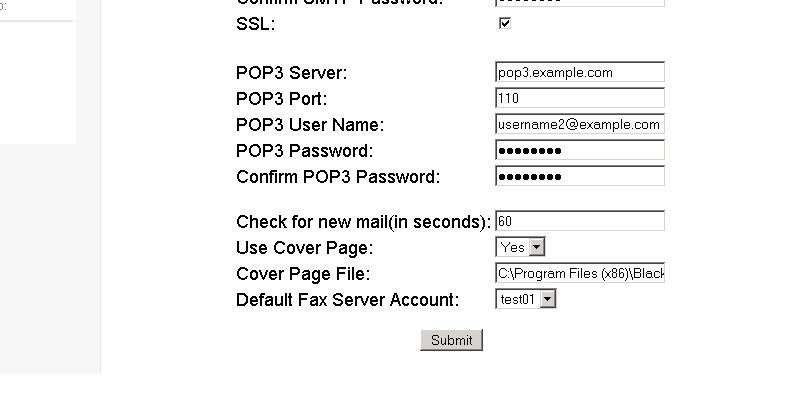
If the POP3 settings are incorrect the Fax Server cannot monitor the specified email address. Enter the port number of the POP3 Server. The port number is 110 by default. Enter the POP3 username with domain and password. Select the interval to monitor the configured email address,
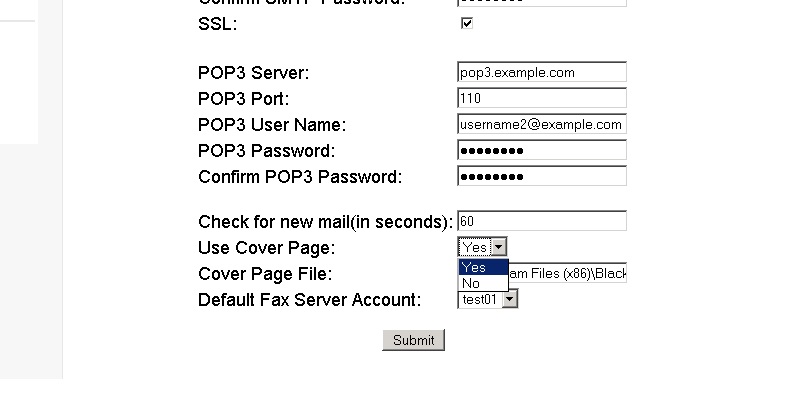
and select YES in the Use Cover Page dropdown list if cover page is needed.
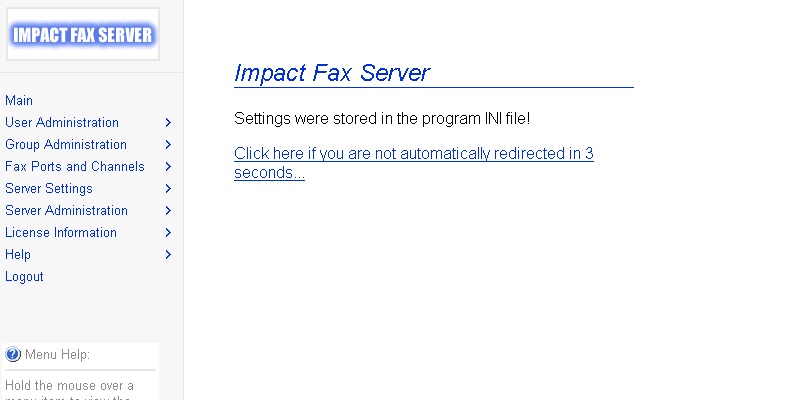
Select the Default Fax Server Account and click on the Submit button. If the user information is successfully modified, the following page appears.
Click here to see our tutorial about how to Send a Fax from Outlook.
Thank you for using Impact Fax Server. Click here to see more tutorials.