This section describes how to set up a RAW Data printer driver on Windows 7 to print to the LPD port that transfers the print job to a Windows 2008 Server where the LPD Manager is installed.
NOTE: Black Ice Software Virtual Printers are not compatible with RAW Data Type.
Terminology:
Host – where the BiLPDManager installed.
Client – where a User print from.
Please follow the steps below to add a RAW Data Type printer for Windows 7 Client to print on the LPD port:
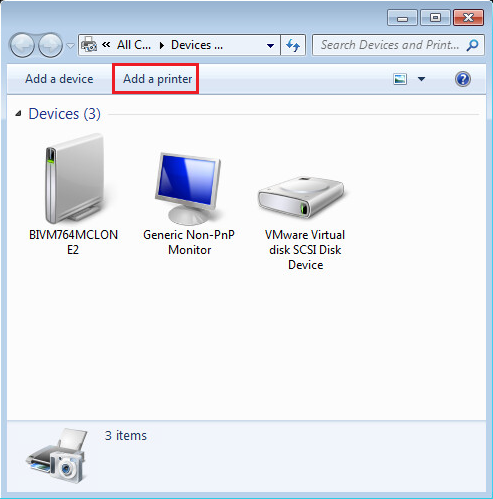
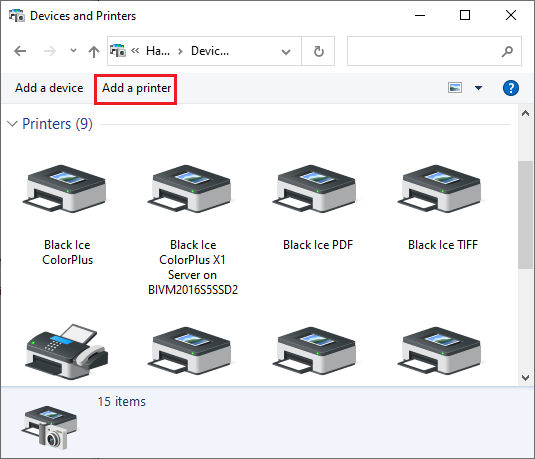
1. Open Control Panel, and then open “Devices and Printers” and click on “Add Printer”.
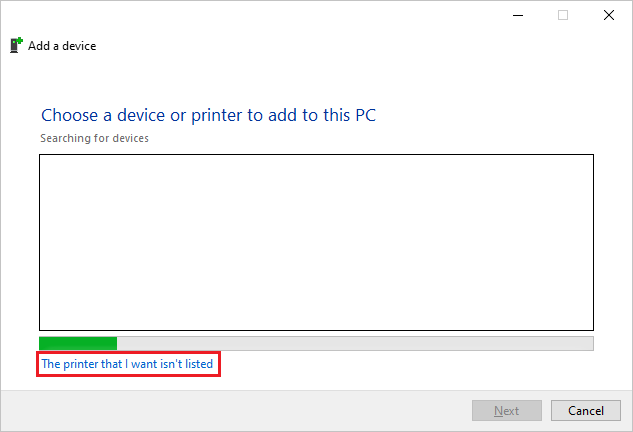
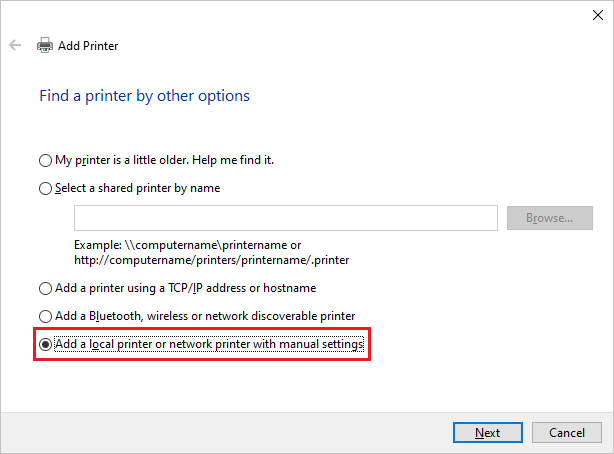
2. Choose “Add a Local Printer” option.
3. Check the “Create a new port” and select “Standard TCP/IP port” option for the type of port from the select list.
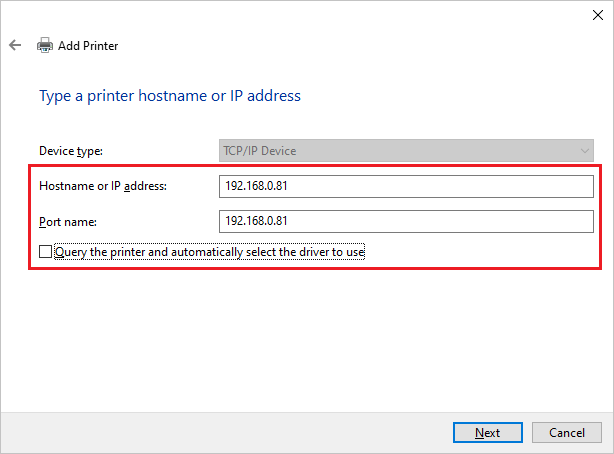
4. Select “TCP/IP Device” of the Device Type from the select list, and type the IP address of the remote computer where the BiLPDManager is installed, in this example Windows 2008 R2.
Uncheck (disable) the “Query the printer and automatically select the driver to use” checkbox.
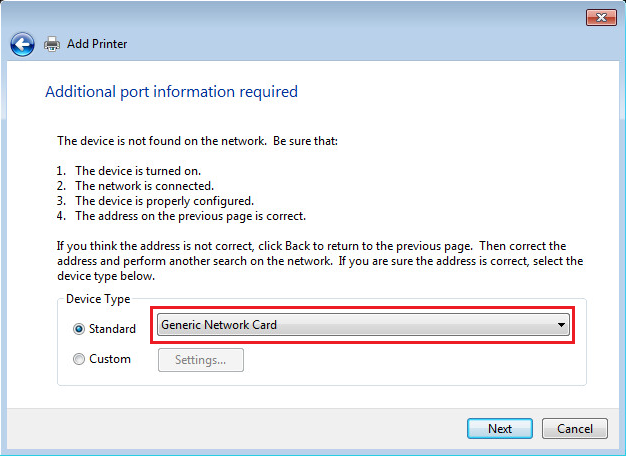
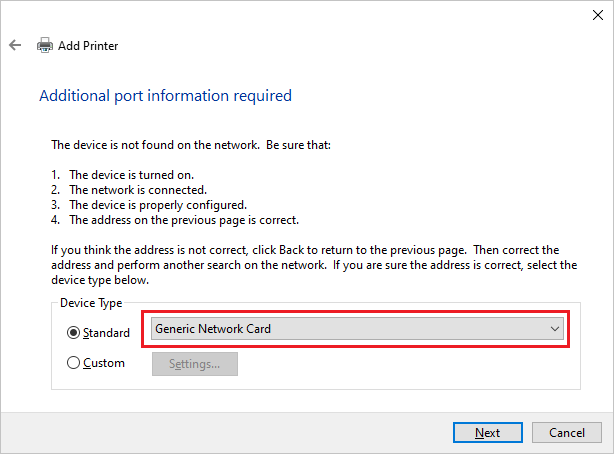
5. Leave Standard “Generic Network Card” for Device Type and click Next.
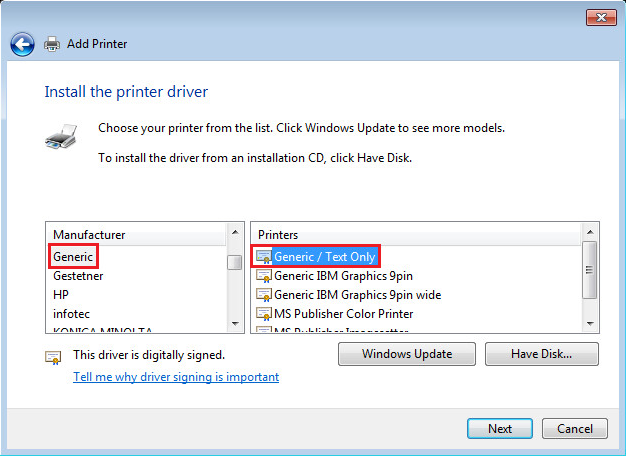
6. Select “Generic” for Manufacturer and select “MS Publisher Color Printer” for printer type then click Next.
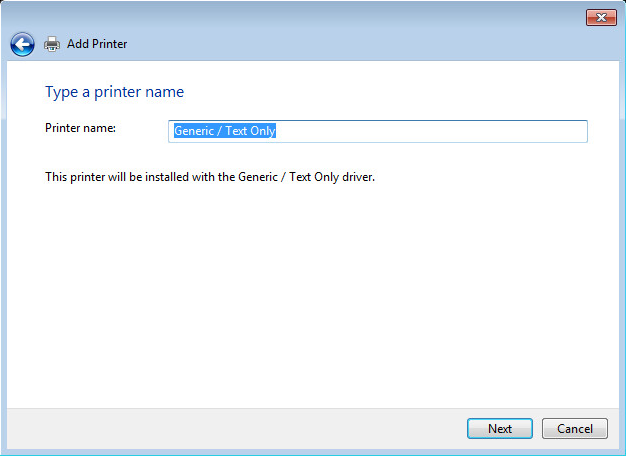
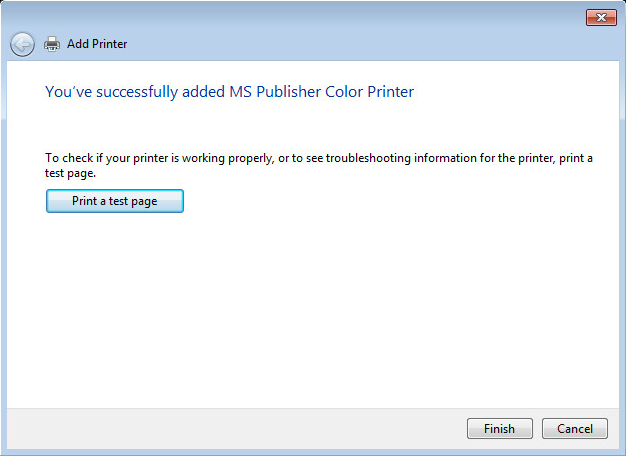
7. Type the name of the Printer.
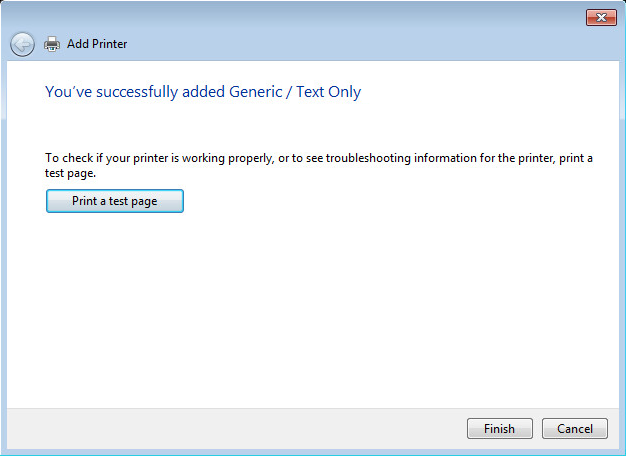
8. Click on Finish to add the printer.
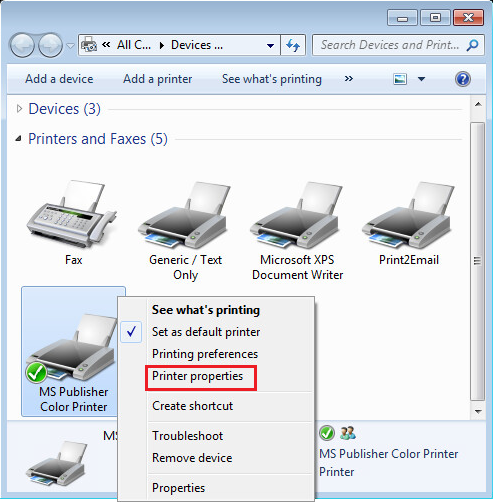
9. When the printer is added to your Printer list, select the printer and right click on it, then Select Printer Properties.
10. Select the “Ports” Tab from the top and click on the “Configure Port” button.
11. Select the “LPR” checkbox, type the name of the Queue and check the LPR Byte Counting Enabled checkbox then click OK twice.
NOTE: The queue name is not case-sensitive, therefore the BiLPDManager will work correctly, even if one specifies the queue name with different capitalization, or letter case.
For example: BiLPDManager printing will work correctly, even if one specifies “MyQueue” in the BiLPDManager under Queue Settings, then one enter “myqueue” (with lowercase letters) on the Client computer, in the LPD Printer’s Printer Properties > Ports > Select the LPD Printer's port > Configure Port... > Queue Name as on the screen capture above.
Your Printer is now ready and you can use it for printing, but first you have to setup the BiLPDManager on the remote computer, in this case on the Windows Server 2008.
Windows Server 2008 Configuration with the BiLPDManager
Install the BiLPDManager and follow the step below.
Open the port 515 on the firewall.
Allow the Windows 7 IP address on the BiLPDManager Security Settings! For example, if the Windows 7 has 192.168.0.100 IP address, then the BiLPDManager must be configured as the following:

Also, please make sure that you configured the same queue name in the LPD Printer, and in the BiLPDManager under Queue Settings.
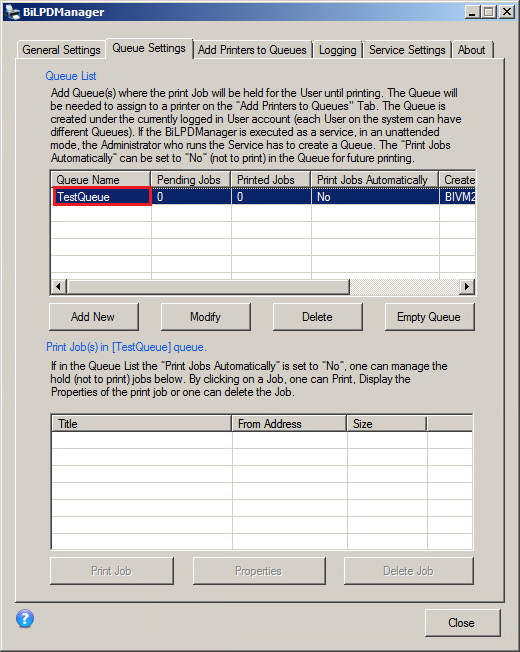
Also, please make sure that a printer is assigned to the configured queue under the Add Printers to Queues tab.
Open the cmd.exe on the client Windows.