Please launch the downloaded Print2RDP Server file to begin installation.
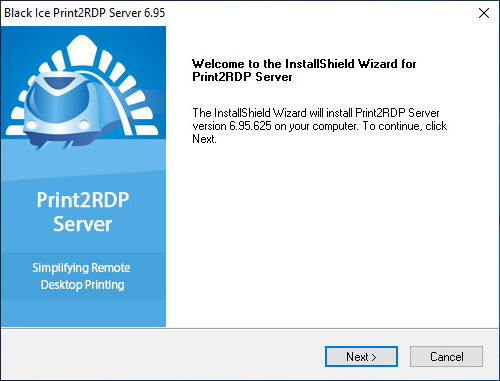
Click Next to start the installation of the Print2RDP.
Read and accept the License Agreement and click on the Next button to continue.

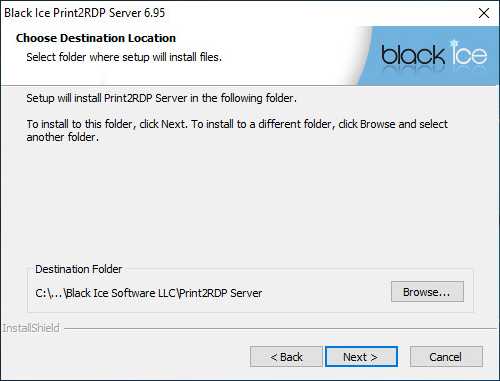
Use the default location or choose a directory where the Print2RDP needs to be installed by clicking the Browse… button and selecting a directory. Click Next to continue.
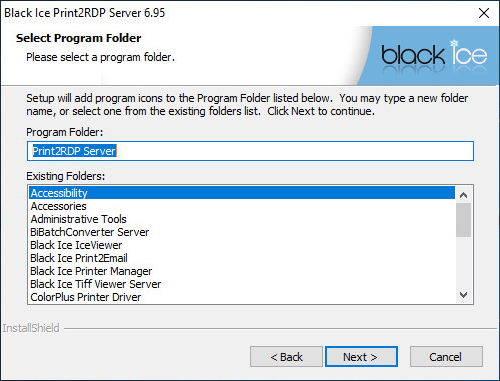
Select a different Program Folder or choose the default folder by not making any changes. Click Next to continue.
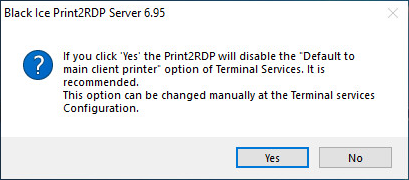
If the “Default to main client printer” option of Terminal Services is enabled on the system, the following window appears. To disable this option (recommended), click on the Yes button.
Note: The “Default to main client printer” option automatically sets the default printer of the server as the default printer for all client sessions, by disabling this you will allow printers mounted by Print2RDP to be set as the default printer for the client sessions.
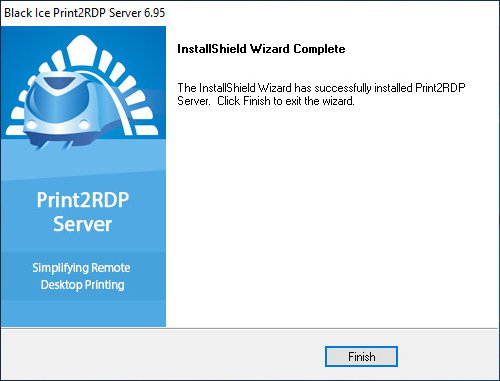
The Print2RDP copies the files to the computer and the following window appears if the installation has finished successfully. Click on the Finish button to complete the installation.