Configure the default file association on Windows 11 and 10 with Group Policy


To configure the default file association on Windows 11 and 10 with Group Policy, please perform the following steps:


Export the default file associations


  1. Install the Tiff Viewer on a reference computer running Windows 11 or 10.


  2. Log in as a local administrator and go to Settings > Default Apps, and click on the Choose default apps by file type option.


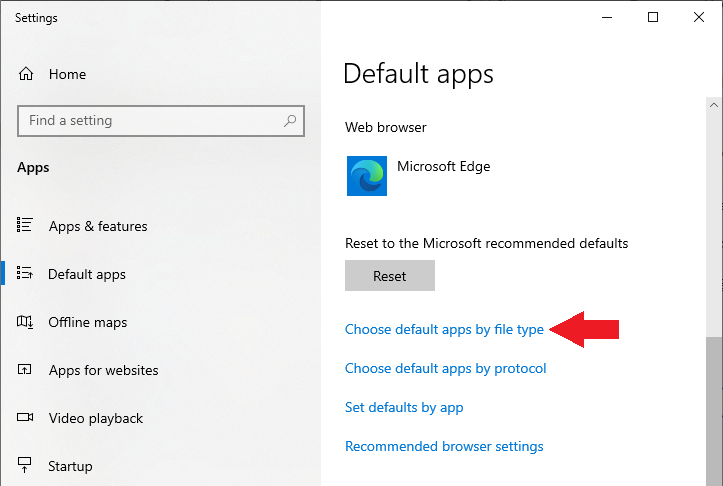
  3. Find the .tif, .tiff, and .pdf file types in the list of extensions. Click on the icon of the program associated with this extension, and change the default application to the Black Ice Tiff Viewer.


  4. Open Command Prompt and export the file associations by using the following command:

    dism.exe /online /export-defaultappassociations:c:\temp\customfileassoc.xml


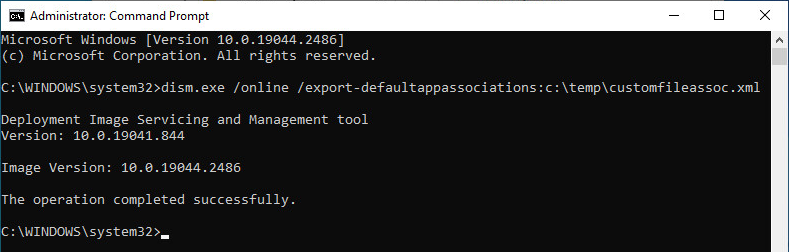
    NOTE: Please make sure to be logged in with the same local administrator account that was used for configuring the default applications.


    The exported file contains the default app settings for every file association configured on the device.


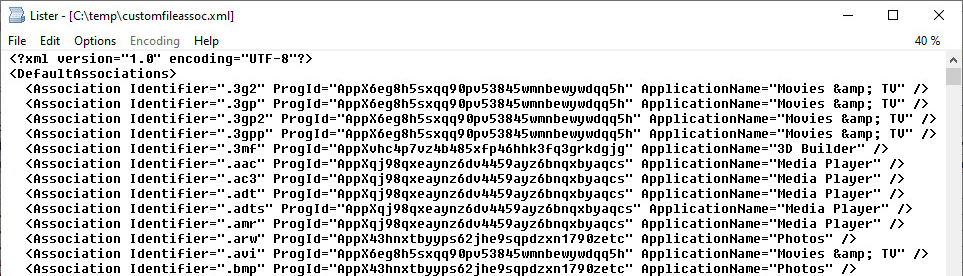
    NOTE: Do not remove file associations from the .xml file, otherwise, users will receive reset notifications on login. When a new version of Windows is released, the built-in applications might register new file associations, therefore, the process above should be repeated.


  5. Change the customfileassoc.xml file’s extension from .xml to .txt.


  6. Delete the first line of the customfileassoc.txt file.


  7. Copy the customfileassoc.txt file to a network shared folder that is available from the computers where the default file association needs to be configured.


Configure the default file associations with Group Policy


  1. To set up a Group Policy Object, open the Group Policy Management console on a domain controller computer.


  2. Create a new Group Policy, right-click on the desired Domain and select “Create a GPO in this domain, and Link it here…”.


  3. Enter a name for the new Group Policy Object and click on the OK button.


  4. To edit the new Group Policy Object, right-click on the GPO name and select Edit.


  5. Navigate to Computer Configuration > Policies > Administrative Templates > Windows Components > File Explorer, right-click on the Set a default associations configuration file setting and click on the Edit option. Enable the policy and specify the UNC path to the default file association .txt file (\\[DOMAIN COMPUTER]\[SHARED DIRECTORY]\customfileassoc.txt). Please make sure the path does not contain any quotes or spaces.


  6. To make sure the file associations have been updated successfully, open a Command Prompt and type gpupdate. After the policies have been updated successfully, see if Tiff Viewer is the default viewer for the configured file formats.