1. One must download and install the TWAIN scan driver of the locally connected scanner device.
2. One must download and install the Citrix Receiver application to connect to the Citrix XenApp server.
NOTE: On the Citrix XenApp server, the Document Imaging SDK must be installed, and the Twain 32-bit OCX C# Sample must be published.
NOTE: On the Citrix XenApp Server, the TWAIN scanning must be enabled. For more information about how to enable the Twain Scanning on the Citrix XenApp Server, please refer to the following article.
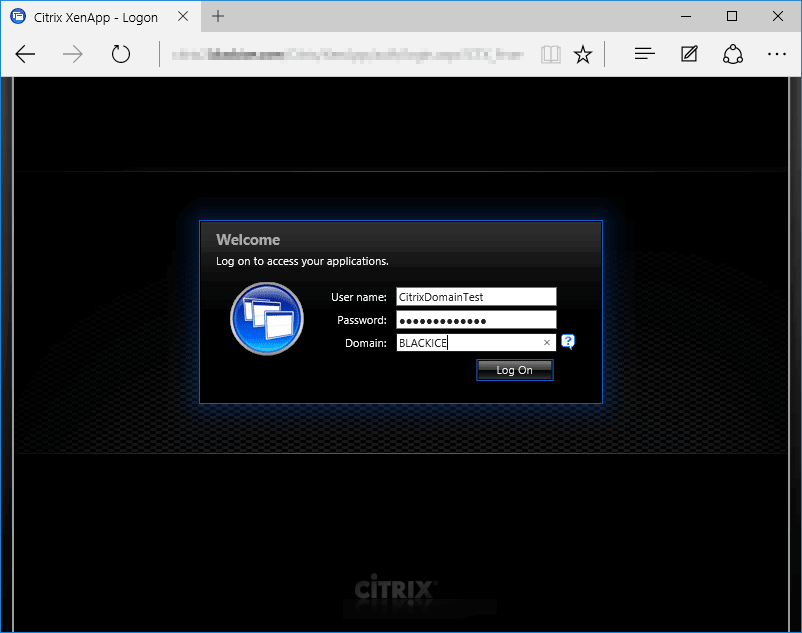
3. Log in to the Citrix XenApp environment through web browser. For example Microsoft Edge.
4. If one installed the Citrix Receiver before the log in process, choose Already installed option in the Other Options windows. Otherwise Download the Citrix Receiver Client with the Download button. 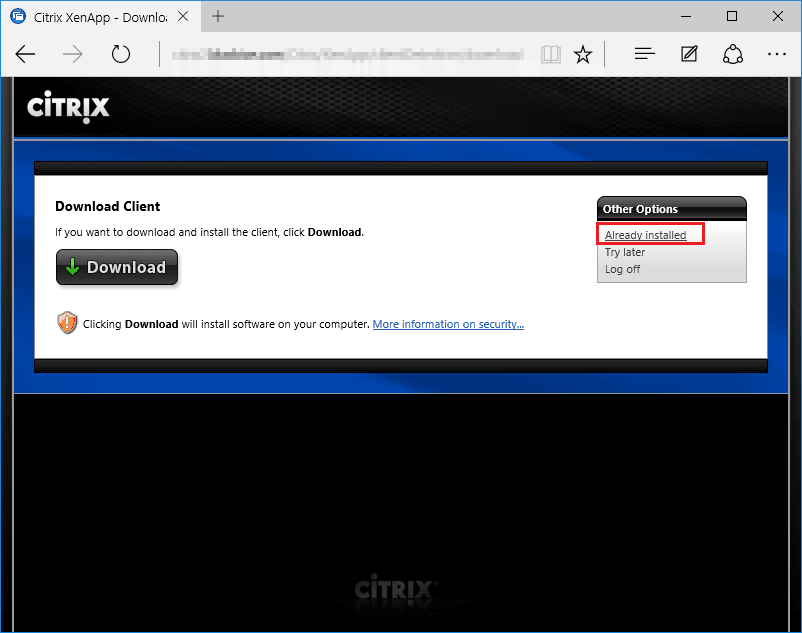
5. Open the Twain 32 CS (C#) sample from the Applications window.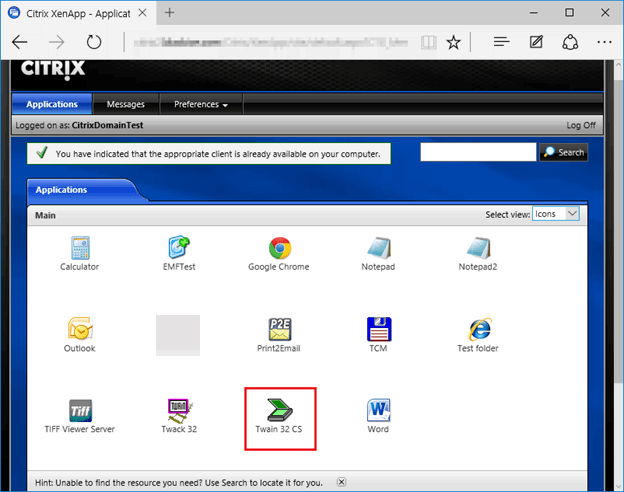
6. After clicked on the Twain 32 CS (C#) sample a file download will start called launch.ica. The lanch.ica will open the Twain 32 OCX C# Sample. If the download is finished select Open. 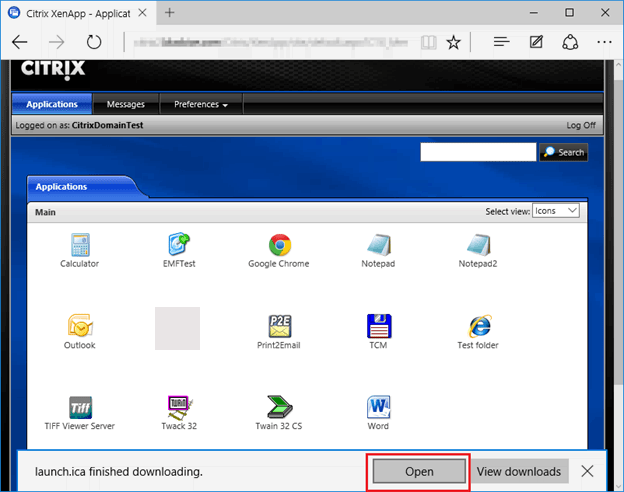
7. The Twain OCX C# Sample window will appear, choose the Select Source option to select the installed Twain scanning device.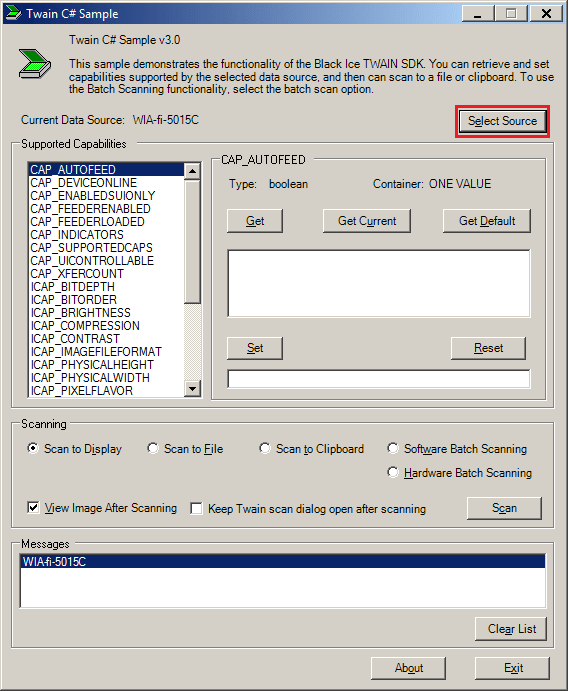
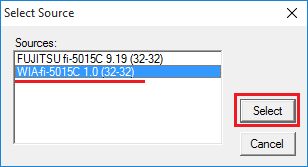
8. The Select Source window will appear. Select the installed Twain scanning device, then click on the Select button.
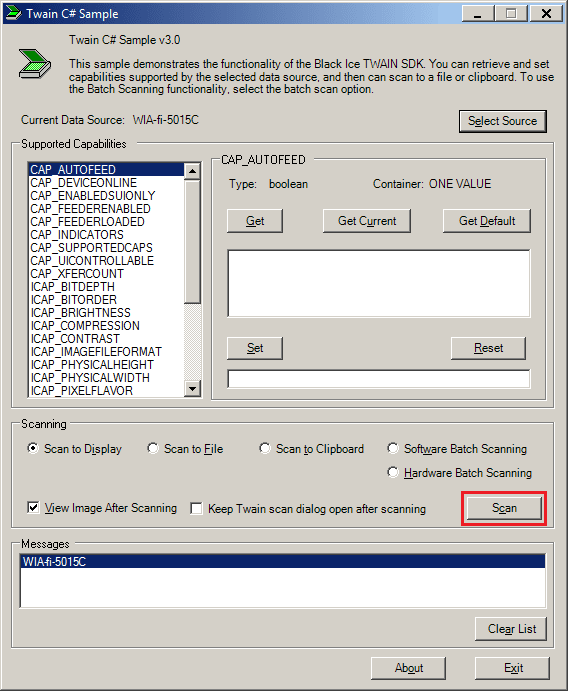
9. If the installed Twain scanning device is selected click on the Scan button in the Scanning section.
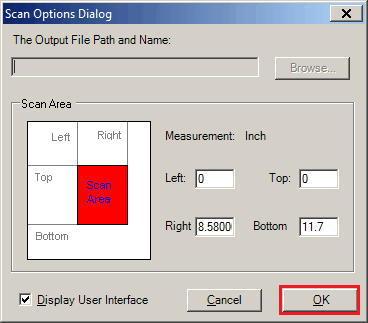
10. The Scan Options Dialog window will appear, please click on the OK button.
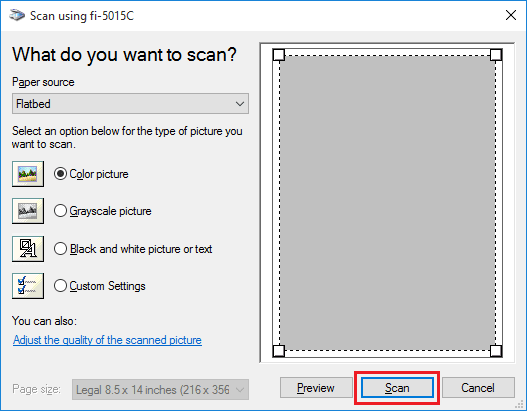
11. A window will appear where one can select the Paper source and the type of the picture. If the Paper Source and the type of the picture selected click on the Scan button.
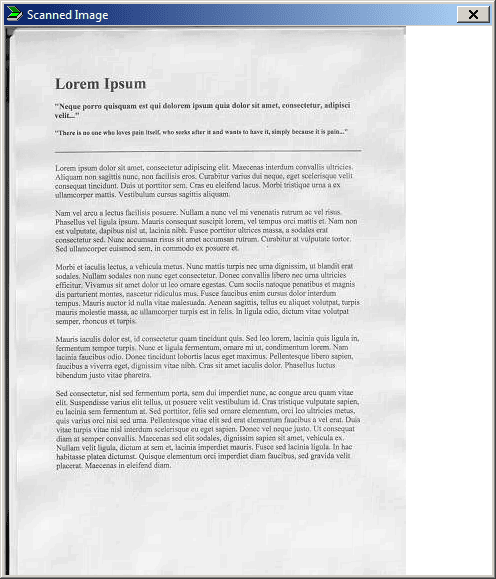
12. If one performed the instructions correctly the scanned image will appear in the Scanned Image window.
Scanning detection Modification in the Document Imaging on the Citrix Server
In the latest Document Imaging 12.56.531 the BiTwain.dll detects only the 2.0 TWAINDSM.DLL versions and above. In order to detect older 1.9 TWAIN_32.DLL
The Twain data source manager DLL name must be changed in the BiTwain.ini file. The BiTwain.ini should be in the same directory as BiTwain.DLL. The name of the data source manager can be specified in the “Twain DLL Name” key of the [Twain] INI file section:
[Twain]
Twain DLL Name=TWAINDSM.dll
For using Twain 1.9 on Citrix, the recommended setting is the following:
[Twain]
Twain DLL Name=twain_32.dll
BiTwain.ini file located in the following directories:
On 32 bit system:
C:\Program Files\Black Ice Software LLC \Document Imaging SDK for Windows 32-bit\Bin
On 64 bit system:
C:\Program Files\Black Ice Software LLC \Document Imaging SDK for Windows 64-bit\Bin
NOTE: Please make sure that none of the Twain Samples are running, when editing the BiTwain.ini.
NOTE: Some Scanner driver uses the 1.9 TWAIN_32.DLL, therefore the BiTwain.dll cannot detect the scanner.