This section covers information about how to install a Microsoft SQL Server on Windows, and configure it for IceViewer.
Download Microsoft SQL from Microsoft website. For the general functionality, Express edition is usually enough.
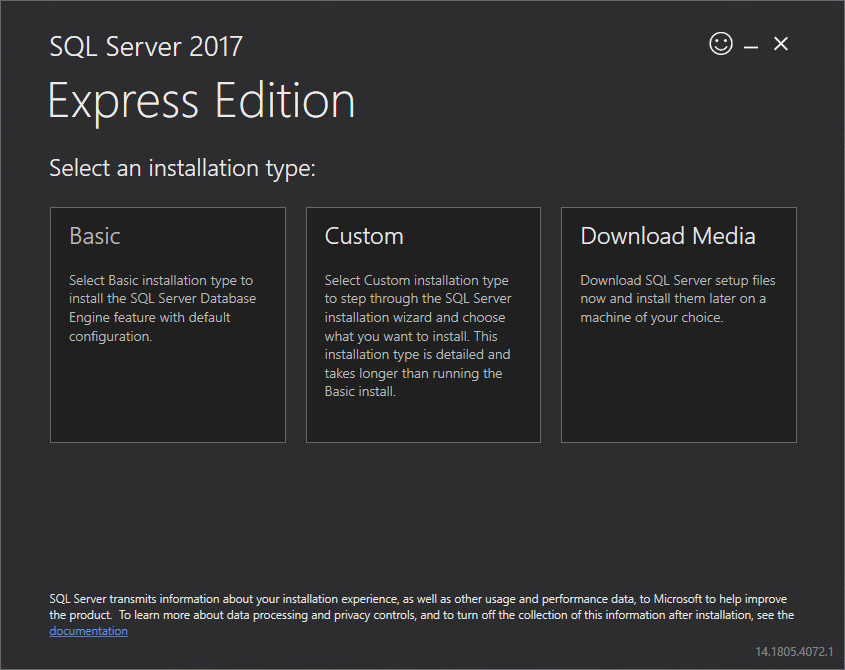
Start the MS SQL Installer, and proceed with the installation wizard. If you not sure in the installation type, select Basic.
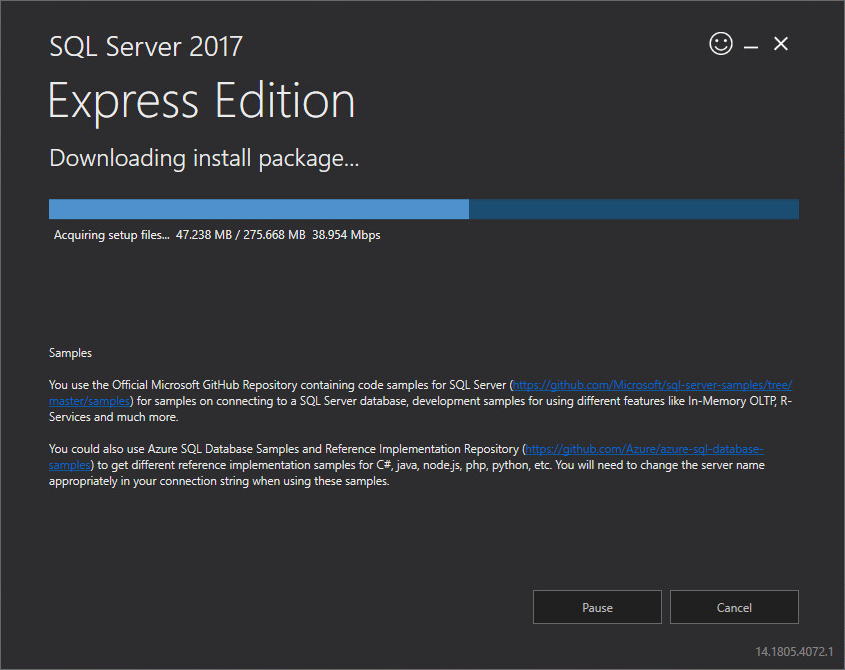
Select the install location, and click Install to begin the installation.

Wait until the installation finish.
For easier configuration, we recommend to install the Microsoft SQL Server Management Studio from Microsoft Website.
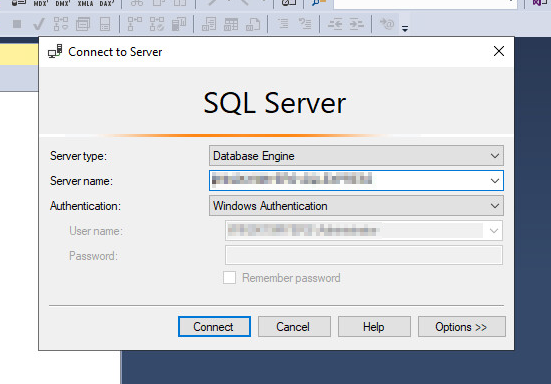
After installed, start the Microsoft SQL Server Management Studio, and connect to the SQL Server with default settings.
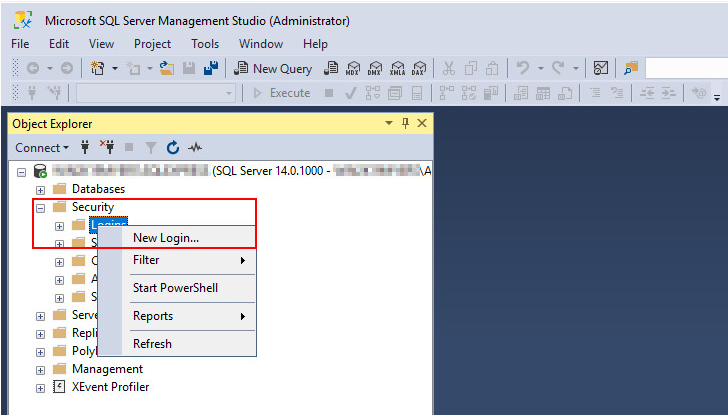
On the left-side pane, navigate to Security > Logins > right-click > New Login …
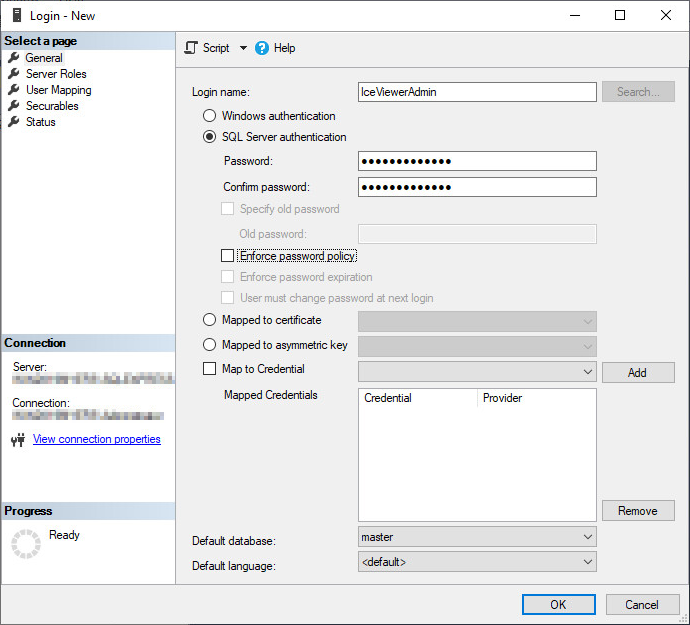
Create a new database administrator for IceViewer.
· Enter a Login name
· Select SQL Server authentication
· Provide a password
· One can also uncheck Enforce password policy
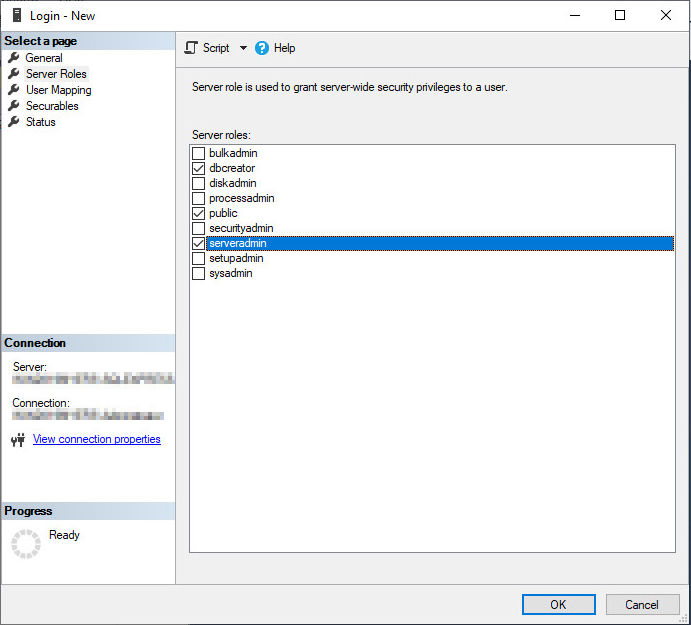
Under Server Roles, check the dbcreater, serveradmin roles, then press the OK button to create the new database administrator.
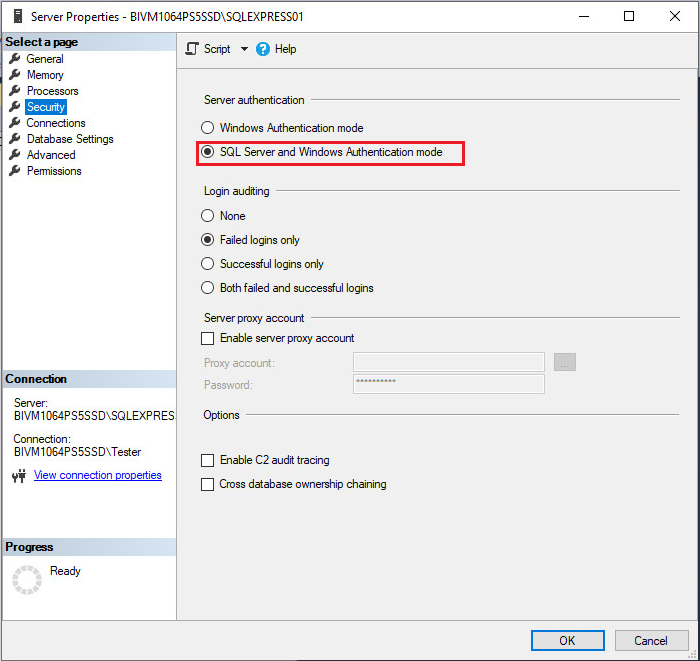
IceViewer is using the SQL Server authentication mode, please change the Server authentication to SQL Server and Windows Authentication mode.
Right-click on the SQL Server and select the Properties option:
Navigate to the Security tab and select the SQL Server and Windows Authentication mode option.
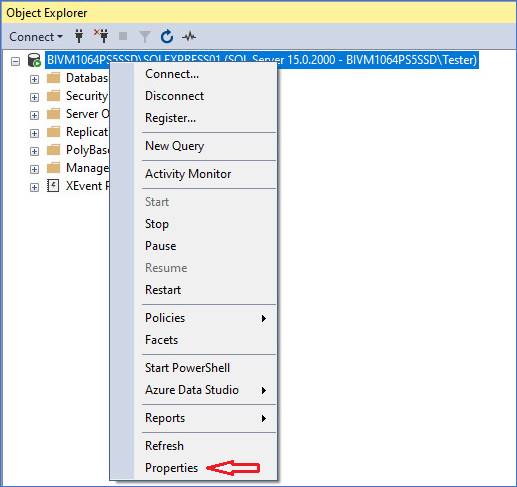
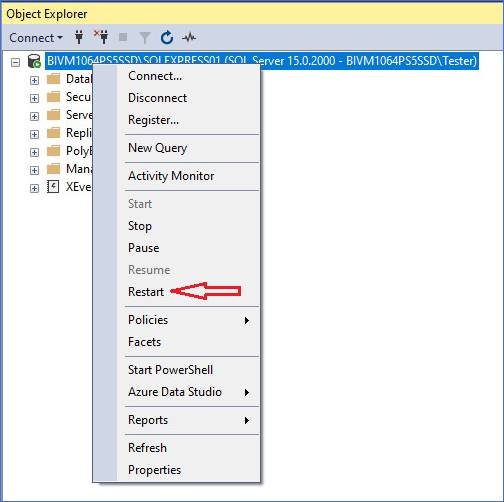
Restart the SQL Server:
Right-click on the SQL Server and select the Restart option:
Once the SQL Server is configured, one can create a database for the IceViewer. For detailed information about how to create/configure a database in IceViewer, please refer to the First Start section.