The following steps will describe the basics of configuring a VM in VMware in order to use the USB modem connected to the ESXI host.
1. Connect and power on the USB modem to the ESXi host which will run the VM with the Black Ice faxing product installed.
2. Open the VMware vSphere Client and log in the to vCenter or log in directly to the ESXi host and find the VM which will be used by the faxing product.
3. Right click on the VM’s name and click Edit Settings to bring up the following dialog.
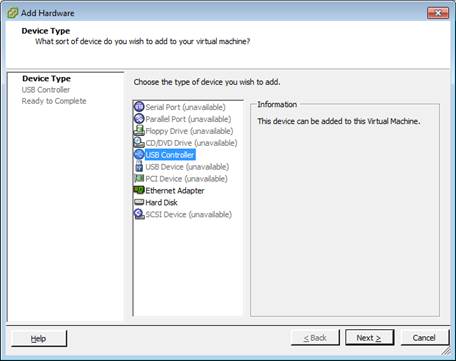
4. The VM needs to have a USB controller installed so it can use the connected USB modem. If the VM does not have a USB controller then it has to be added by clicking the Add… button and selecting USB Controller and clicking Next, otherwise skip to step 7.
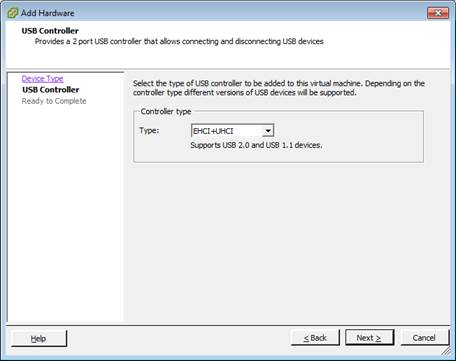
5. At the following screen select EHCI+UHCI to add support for USB 2.0 and USB 1.1 devices then click Next.
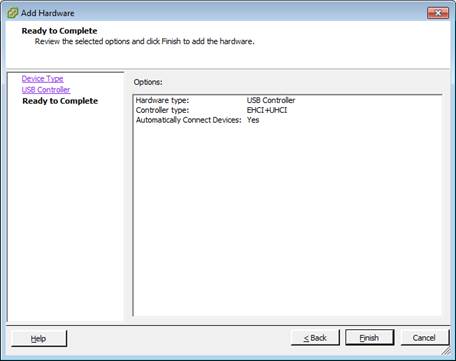
6. To finish the installation of the USB Controller click Finish on the dialog window, the operating system will install the correct device drivers automatically.
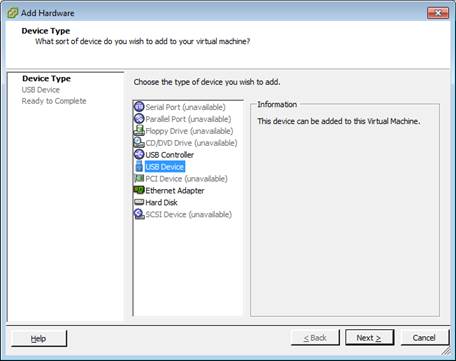
7. It is now possible to add the Faxmodem to the VM on the same Add Hardware window by clicking Add… and selecting USB Device as can be seen at the picture below.
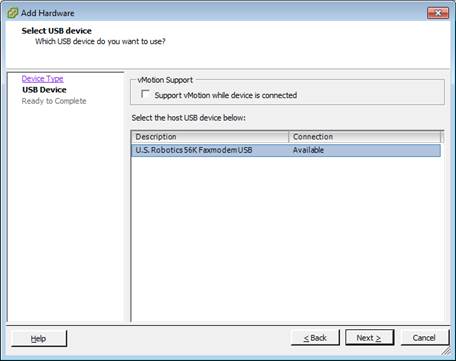
8. The USB faxmodem should be visible on the following list and it can be added by selecting it and clicking Next. In our example we used a U.S. Robotics 56K Faxmodem.
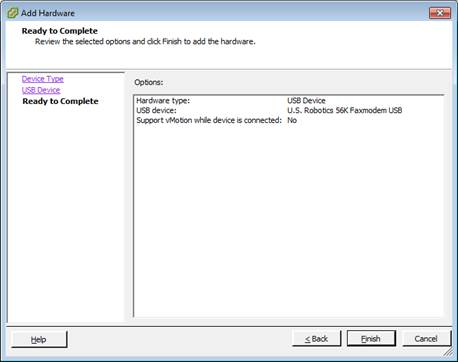
9. To finish the installation of the faxmodem click Finish on the last window.
From that point follow the instructions of the modem manufacturer to install the device driver on the operating system.