In the Form Filler saving is possible with the Save and the Save As button.
When clicking on the Save button, the Save As dialog appears where users can select the filename and the location of the form. After the form is saved, clicking on the Save button updates the previously saved form.
When clicking on the Save As button, the Save As dialog appears. Users can save the currently used form with a different filename or to a different location. Saving can be performed from three different locations:
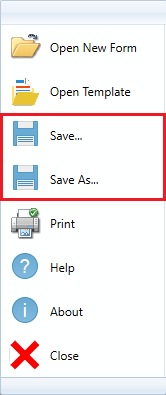
· From the Application Menu:
The Application Menu can be accessed by clicking on the blue colored button on the top left corner of the application.
From the Application menu, click on the Save… or the Save as… button.
A Save As… dialog window appears, where users can configure the saving options and select the name and location of the file to save. Click OK to save the file.
· From Quick Access Toolbar (Save As…)
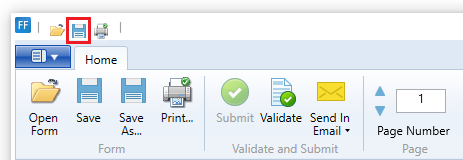
Click on the Save As… button, on quick access toolbar. A Save As dialog window appears, where users can configure the saving options and select the name and location of the file to save. Click OK to save the file.
· From home tab
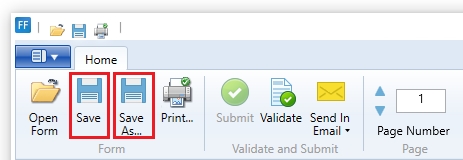
Click on the Save… or the Save As… button, on Home Tab. A Save As dialog window appears, where users can configure the saving options and select the name and location of the file to save. Click OK to save the file.
In all three cases the following Save As dialog appears:
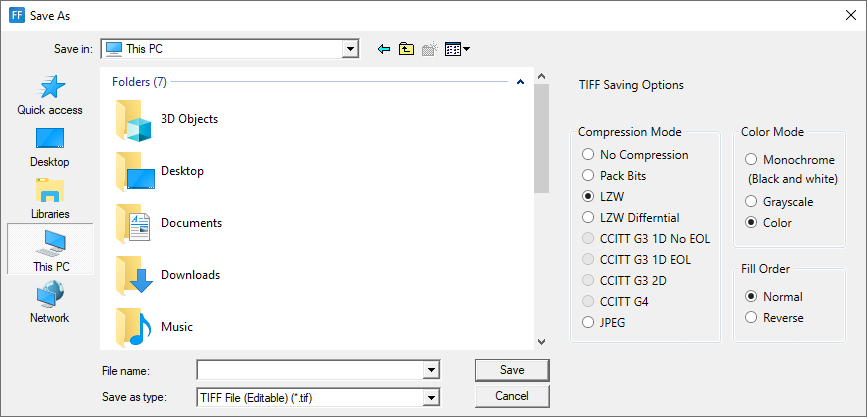
To read more about saving options, please refer to the Available File Formats section of this manual.