This section describes how to set up a generic text printer driver on Windows 10 to print to port 9100 that uses the RAW protocol and transfers the print job to a Windows 2016 Server where the BiLPDManager is installed. On the Windows 2016 Server, where the BiLPDManager is installed, the BiLPDManager redirects the print job to a Black Ice printer driver to convert the text file to a PDF or TIF file.
Terminology:
Host – where the BiLPDManager is installed.
Client – where users will print from.
Please follow the steps below to add a generic text printer for the client computer. The generic text printer will print to a port that uses the RAW protocol.
1. Open Control Panel, navigate to “Devices and Printers”, and click on the “Add a printer” button.
2. On the following window, please select the “The printer that I want isn’t listed” option.

3. Choose the “Add a local printer or network printer with manual settings” option.
4. Check “Create a new port” and select the “Standard TCP/IP port” option.

5. Select “TCP/IP Device” for the Device Type, and type the IP address of the remote (host) computer, where the BiLPDManager is installed (for example: Windows Server 2016).
Uncheck (disable) the “Query the printer and automatically select the driver to use” checkbox.

6. Leave Standard “Generic Network Card” for Device Type and click Next.

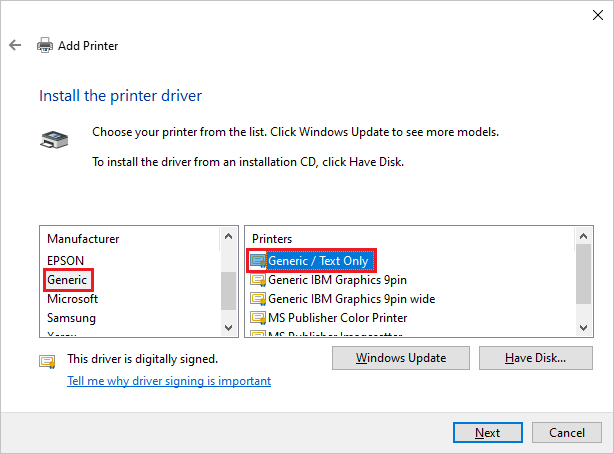
7. Select “Generic” for Manufacturer and select “Generic/Text Only” for printer type then click Next.

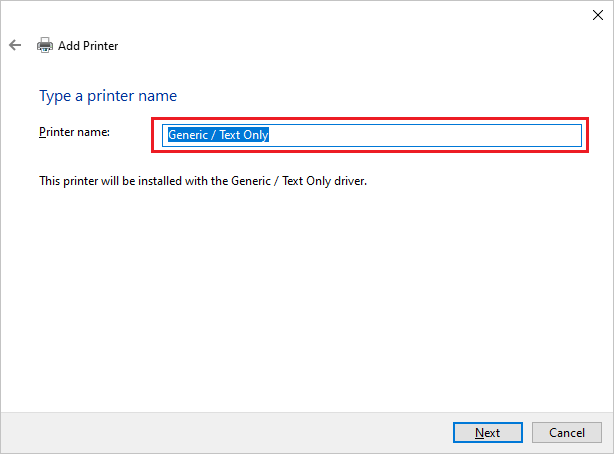
8. Type the name of the Printer.
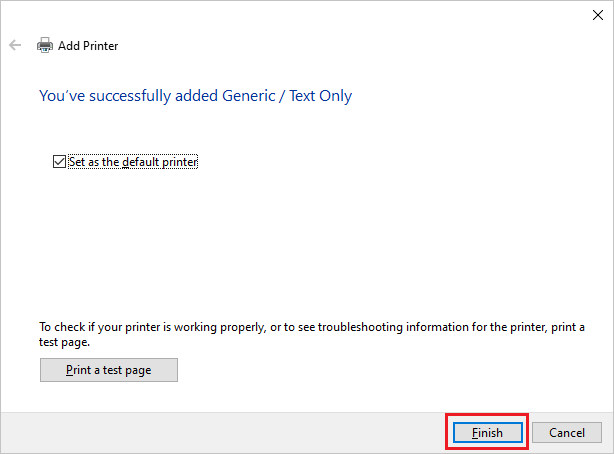
9. Click on the Finish button to add the printer.
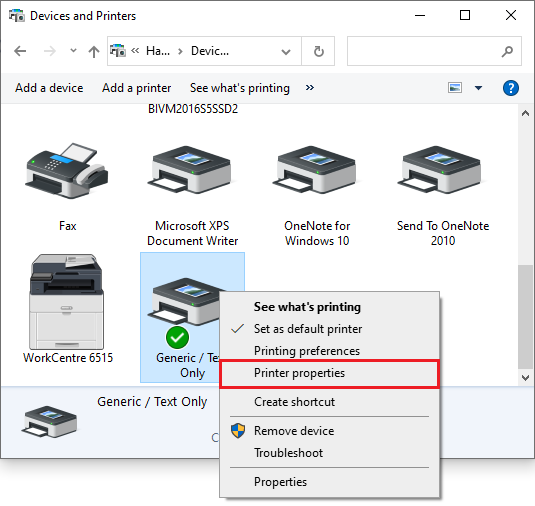
10. When the printer is added to your printer list, right-click on the printer and select the “Printer Properties” option.
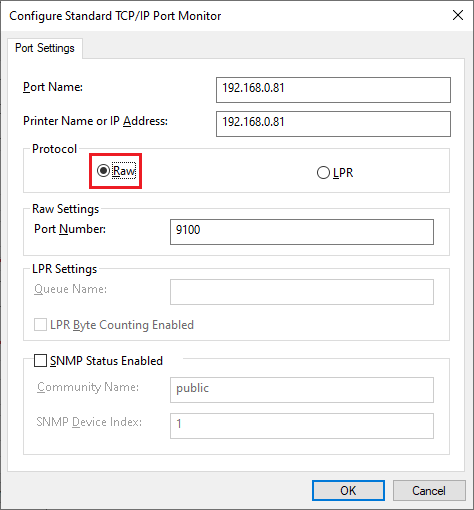
11. Navigate to the “Ports” tab and click on the “Configure Port…” button.
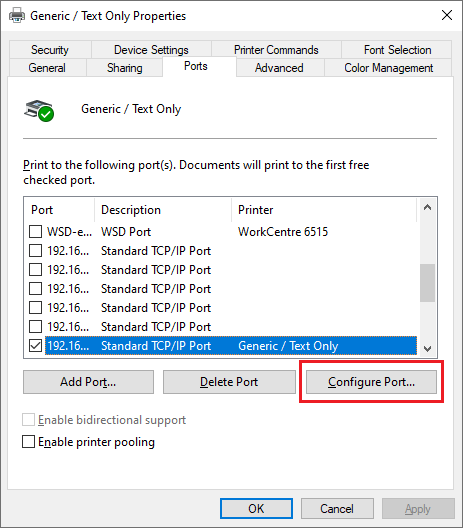
12. Select the “Raw” checkbox under Protocol, and then click OK.

The Printer is now ready and can be used for printing, but first, one has to set up the BiLPDManager on the remote computer (in this case on the Windows Server 2016).
Windows Server 2016 Configuration with the BiLPDManager
Install the BiLPDManager on Windows 2016 Server and follow the steps below.
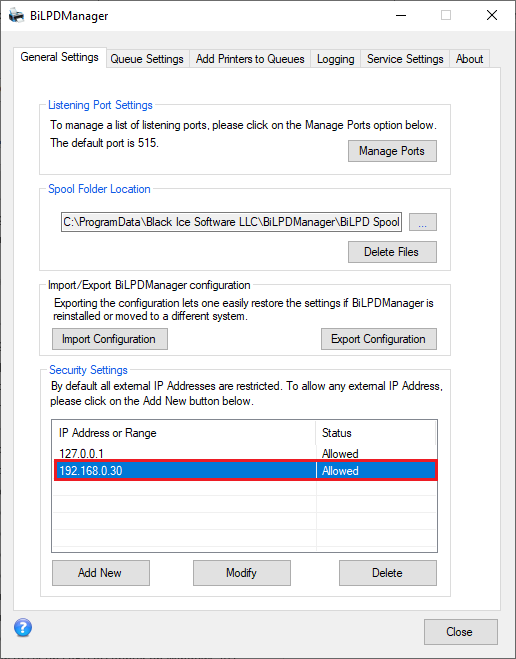
1. Allow the IP address of the client computer on the General Settings tab of the BiLPDManager, under Security Settings. To read more about how to allow an IP address in the BiLPDManager, please see the Security Settings section of the manual.
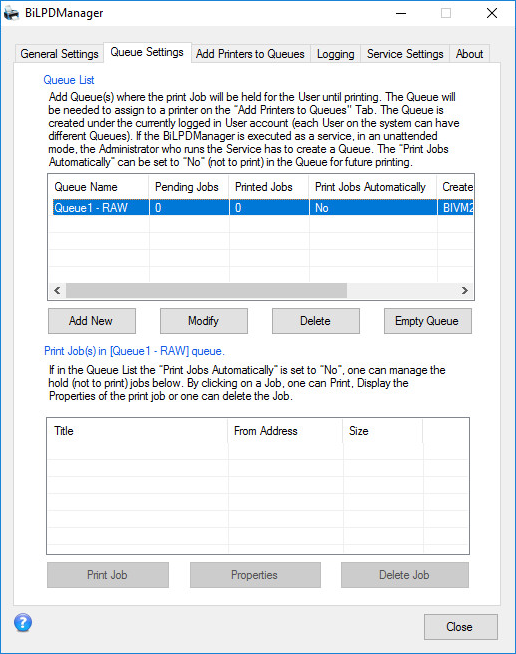
2. Also, please create a new queue for the RAW printer under Queue Settings. To read more about how to create a new queue, please see the Queue Settings section of the manual.
3. Please make sure that the appropriate port number and protocol are added to the used ports, by navigating to the General Settings tab and clicking on the Manage Ports button. To read more about how to add a port number using the RAW protocol, please see the General Settings section of the manual.

4. Also, please make sure that a printer is assigned to the configured queue under the Add Printers to Queues tab. To read more about how to assign a printer to the selected queue, please see the Add Printers to Queues section of the manual.

The physical printer on the network or the client computer is now ready to send print jobs to the BiLPDManager on the Host computer. When printing a document, it will appear under the Print Job(s) section of the BiLPDManager. To read more about how to manage print jobs, please see the Job Management section of the manual.
