OEM Printer Drivers, Licensed “End-User” Printer Drivers and Agent Printers also can be shared over the network. Agent Printers are not available in OEM Printer Drivers.
To share the Black Ice printer driver on the network, follow the instructions below to set up the printer correctly.
Printer Sharing Limitations
When sharing Black Ice printers over a network, there are some restrictions that must be taken into consideration. For the complete list of limitations, refer to the Printer Sharing Limitations section.
Configuration
To preconfigure the Printer Driver settings for the all users before sharing, navigate to Control Panel > Printers and Devices > right click on the Black Ice Printer Driver > Printer Properties > Advanced > Printing Defaults and configure the printer driver.
Sharing the Printer Drivers
For sharing Agent Printer, please refer to Sharing Agent Printers.
Throughout this section the following terminology is used:
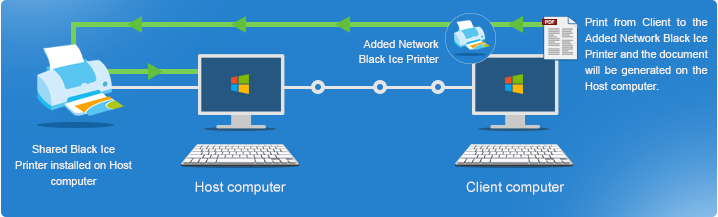
Host Printer: The Black Ice printer driver installed and shared on a system is the “host” machine. The term “host” does not necessarily mean a Windows Server operating system.
Client Printer: The “Client” system’s printer, prints on the “host” printer. The shared Black Ice “host” printer driver adds a network printer to the “client” system. This “client” printer will generate an output on the “host” printer driver.
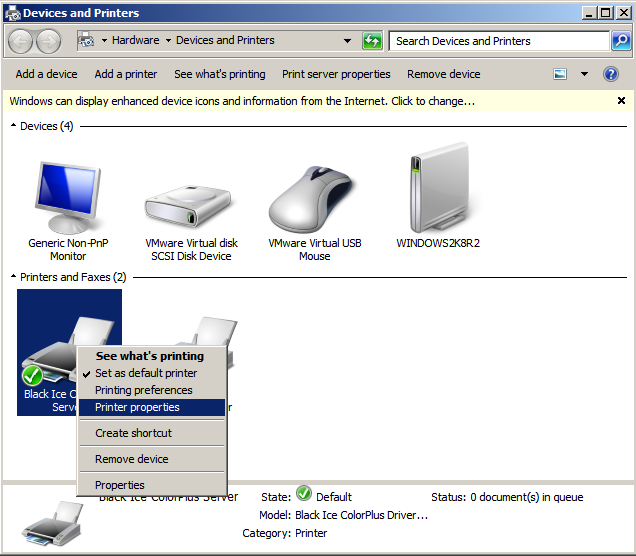
1. To Share a Black Ice Printer Driver, go to Control Panel > Printers and Devices and right click on the printer you would like to share, and click on Printer properties.
2. On the Sharing tab, check the Share this printer checkbox, and enter a Share name. The printer will be displayed with this name on the network.
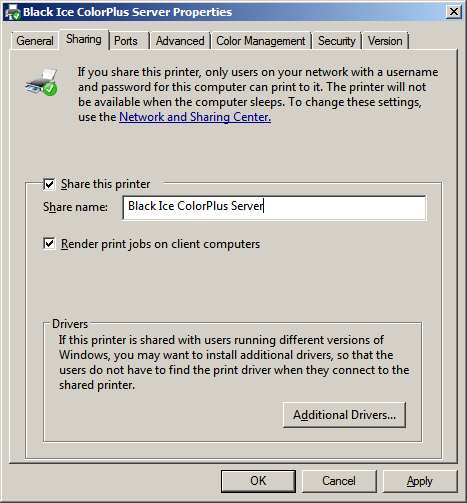
3. When finished, click on the Apply button. The Printer Driver is shared successfully.
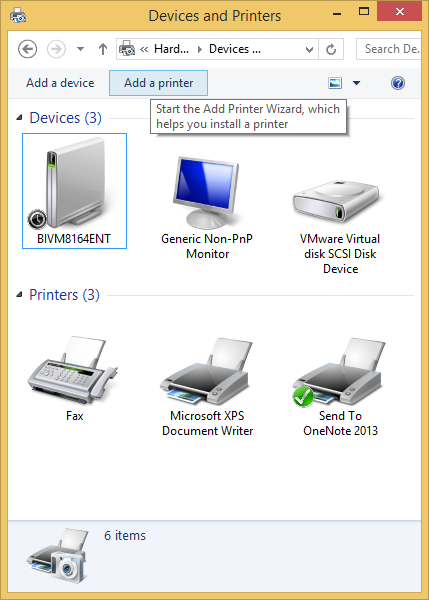
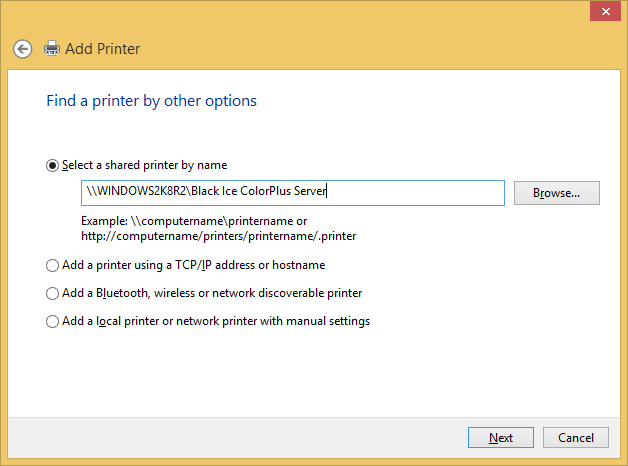
4. To add the shared printer on the client computer, go to Control Panel > Devices and Printers and click on the Add a printer option.
5. Follow the instructions of the Add Printer wizard, and add the network printer.
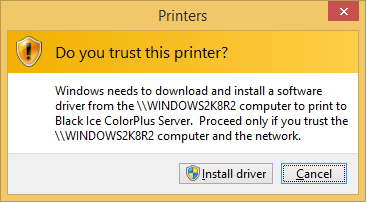
6. Click on the Next button, and install the required drivers for the printer driver if needed.
7. If the printer driver is added successfully, the following window appears.
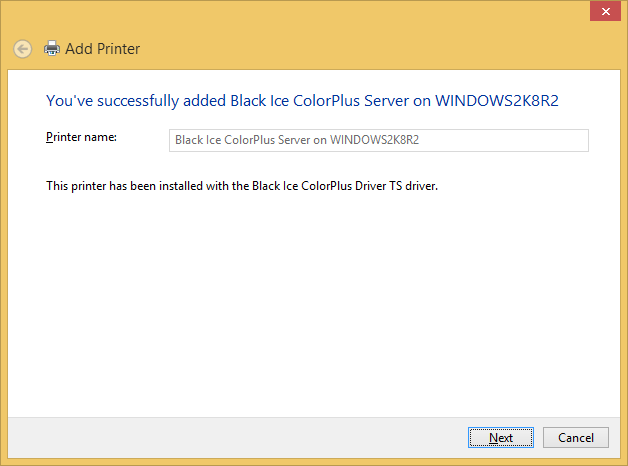
8. The shared printer is successfully added on the client computer.
In case the printer driver is locked, the following error message appears during the driver installation:
In this case, please restart reboot the computer or restart the spooler service by opening a command line (cmd.exe) as Administrator, and type the following commands and then try to add the shared printer to the client again:
net stop spooler
net start spooler
When a shared Black Ice printer driver is installed as a network printer on a Client machine on the network, it is possible to change some of the Black Ice printer driver settings from the Client side. For the limitations please refer to the Printer Sharing Limitations section. However, the following points must be verified before printing:
NOTE: The output file is generated on the host, not on the client.
Output Directory (Filename Generation tab): The output directory can be selected on the Client side, but this directory must exist on the Host machine as well. If this directory does not exist on the Host machine, the file is generated in the Host’s TEMP directory.
On the Client every user can create and set different output directories. On the Host side the administrator must only configure the shared printer driver. On the Host side, the administrator must make sure that every Client directory exists and the user has write permissions. If the Client directory does not exist on the Host machine, the file is generated in the Host’s TEMP directory.
Since the port monitor has no read/write permission to generate the image into a network directory, and the user specifies a network directory (for example, \\aaa\ccc) as an output directory, the printed file is generated into the Host’s TEMP directory.
One must not use environment variables. If one uses the <<test>> environment variable on the Client and uses <<test>> as an output directory on the Client, and a folder named test exists at c:\ root directory on the Host side, the output files are placed in the test folder. If the test folder does not exist on the Host, the file is placed in the C:\Windows\Temp folder on the Host.
Additional links:
For adding Watermark, please refer to Using Watermark on shared printers.
For adding Annotation, Header or Footer, please refer to Using Annotation on shared printers.
For applying or updating the shared printer settings from Host on client machines, please refer to Applying settings from Host for shared printers on client machines.
Remove/Uninstall Shared printers from Client computers
Update Shared printers on the client
Adding Shared Printer driver in Group Policy